
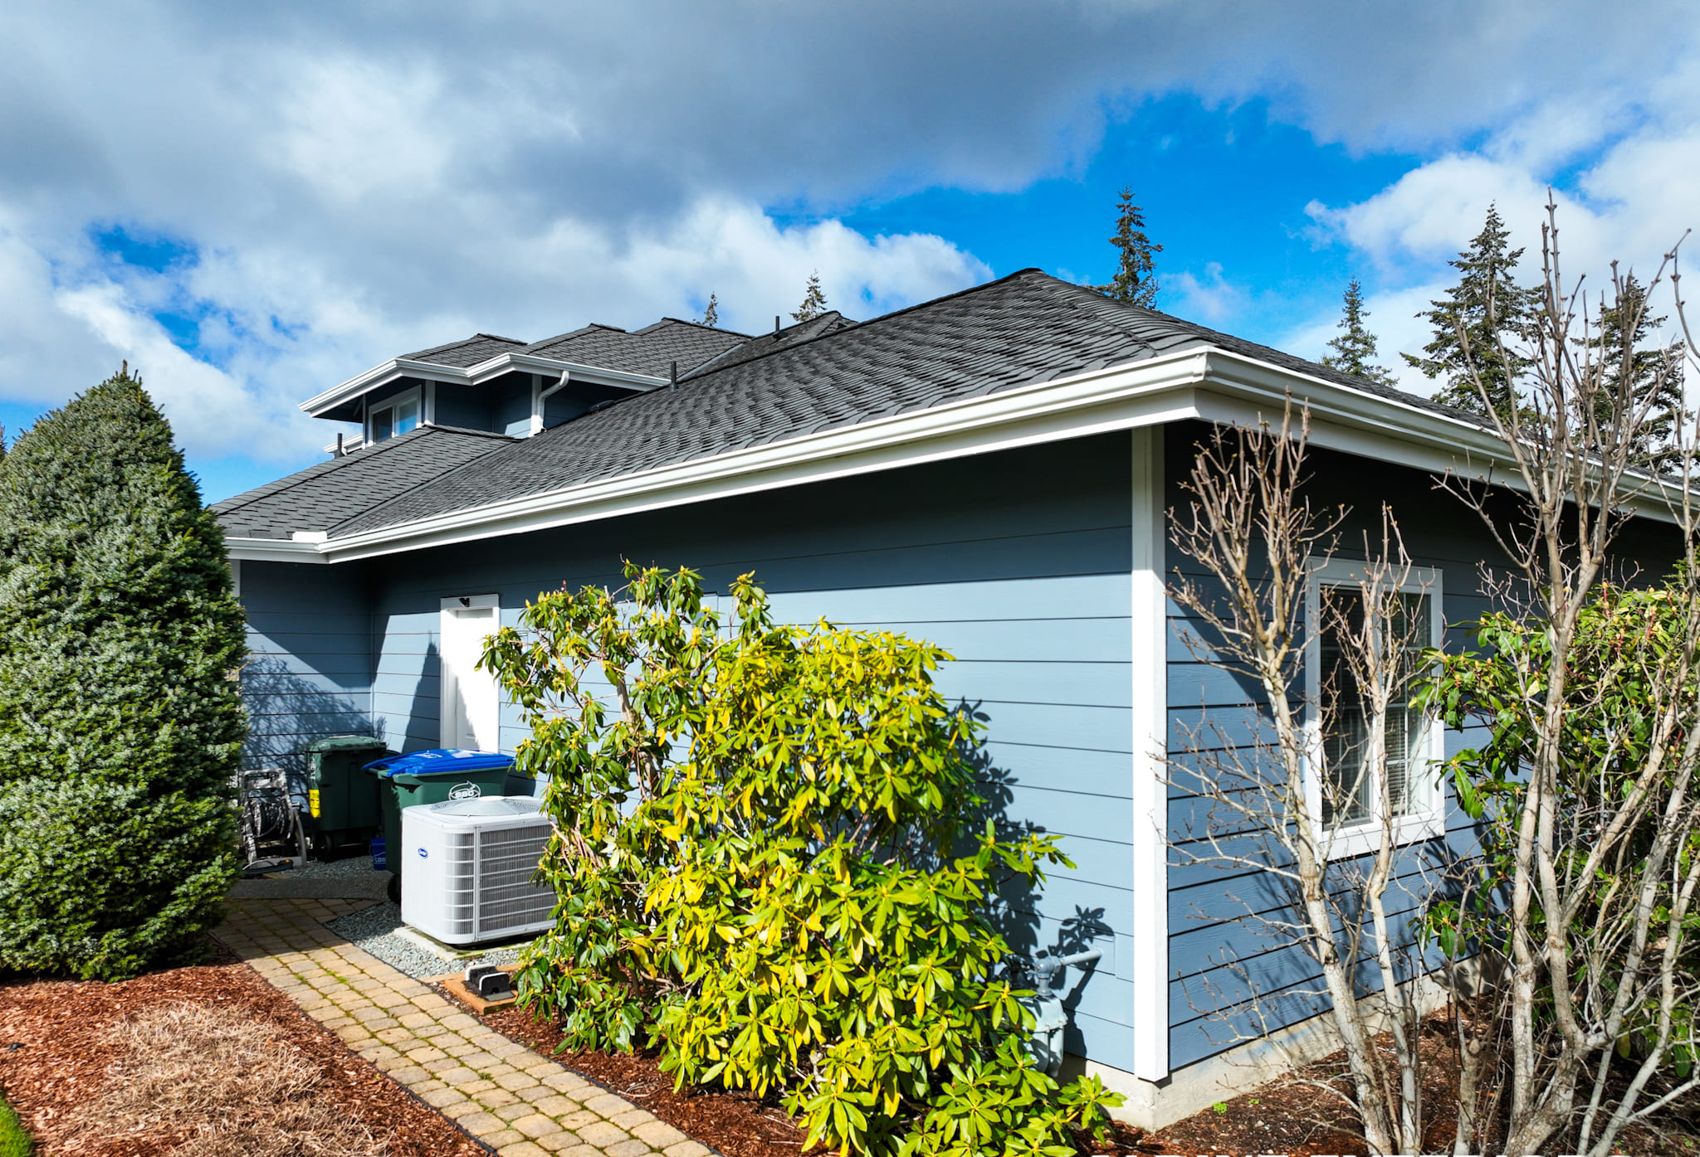
Water has to be shed outward and downward at every layer, and the flashing goes on before the siding — never after. The correct sequence around a window opening is: sill pan flashing first, then the window unit, then jamb (side) flashing taped over the nailing flange, then head flashing last, lapped over the weather-resistive barrier above the window so that siding installed afterward laps over the head flashing rather than tucking behind it.
Every layer at a window is built on the same principle roofers use on a roof: each piece overlaps the one below it, like shingles, so gravity always carries water outward instead of into the wall cavity. Skip a step or install it out of order and you don't get a leak on day one — you get a slow-motion problem that shows up two or three winters later as a soft spot under a windowsill or a stain bleeding through interior drywall.
In practice that means the sill pan goes down first, sloped slightly to the exterior with a back dam at the interior edge so any water that gets past the window still drains out instead of pooling against the framing. The window goes in on top of that pan. The side flanges get taped next, and that tape has to extend down over the sill pan's edges, not stop short of it. Only after the sides are sealed does the head flashing go in, set behind the housewrap above the window and folded down over the top nailing flange. That order is what lets the housewrap and the final head flashing shed water onto the face of the siding below rather than behind it. Reverse any of those laps — tape the top before the sides, or run housewrap over the head flashing instead of behind it — and you've built a funnel instead of a drainage path, even though the wall looks identical from the sidewalk once the siding goes back on.
Where a lot of this work actually fails isn't the window itself — it's the transition where the old or new siding butts back up against the finished flashing assembly. Fiber cement, vinyl, and lap wood siding all need a consistent gap and caulk joint at the window casing, not a tight friction fit, so the wall can still move and drain without forcing water sideways into the trim.
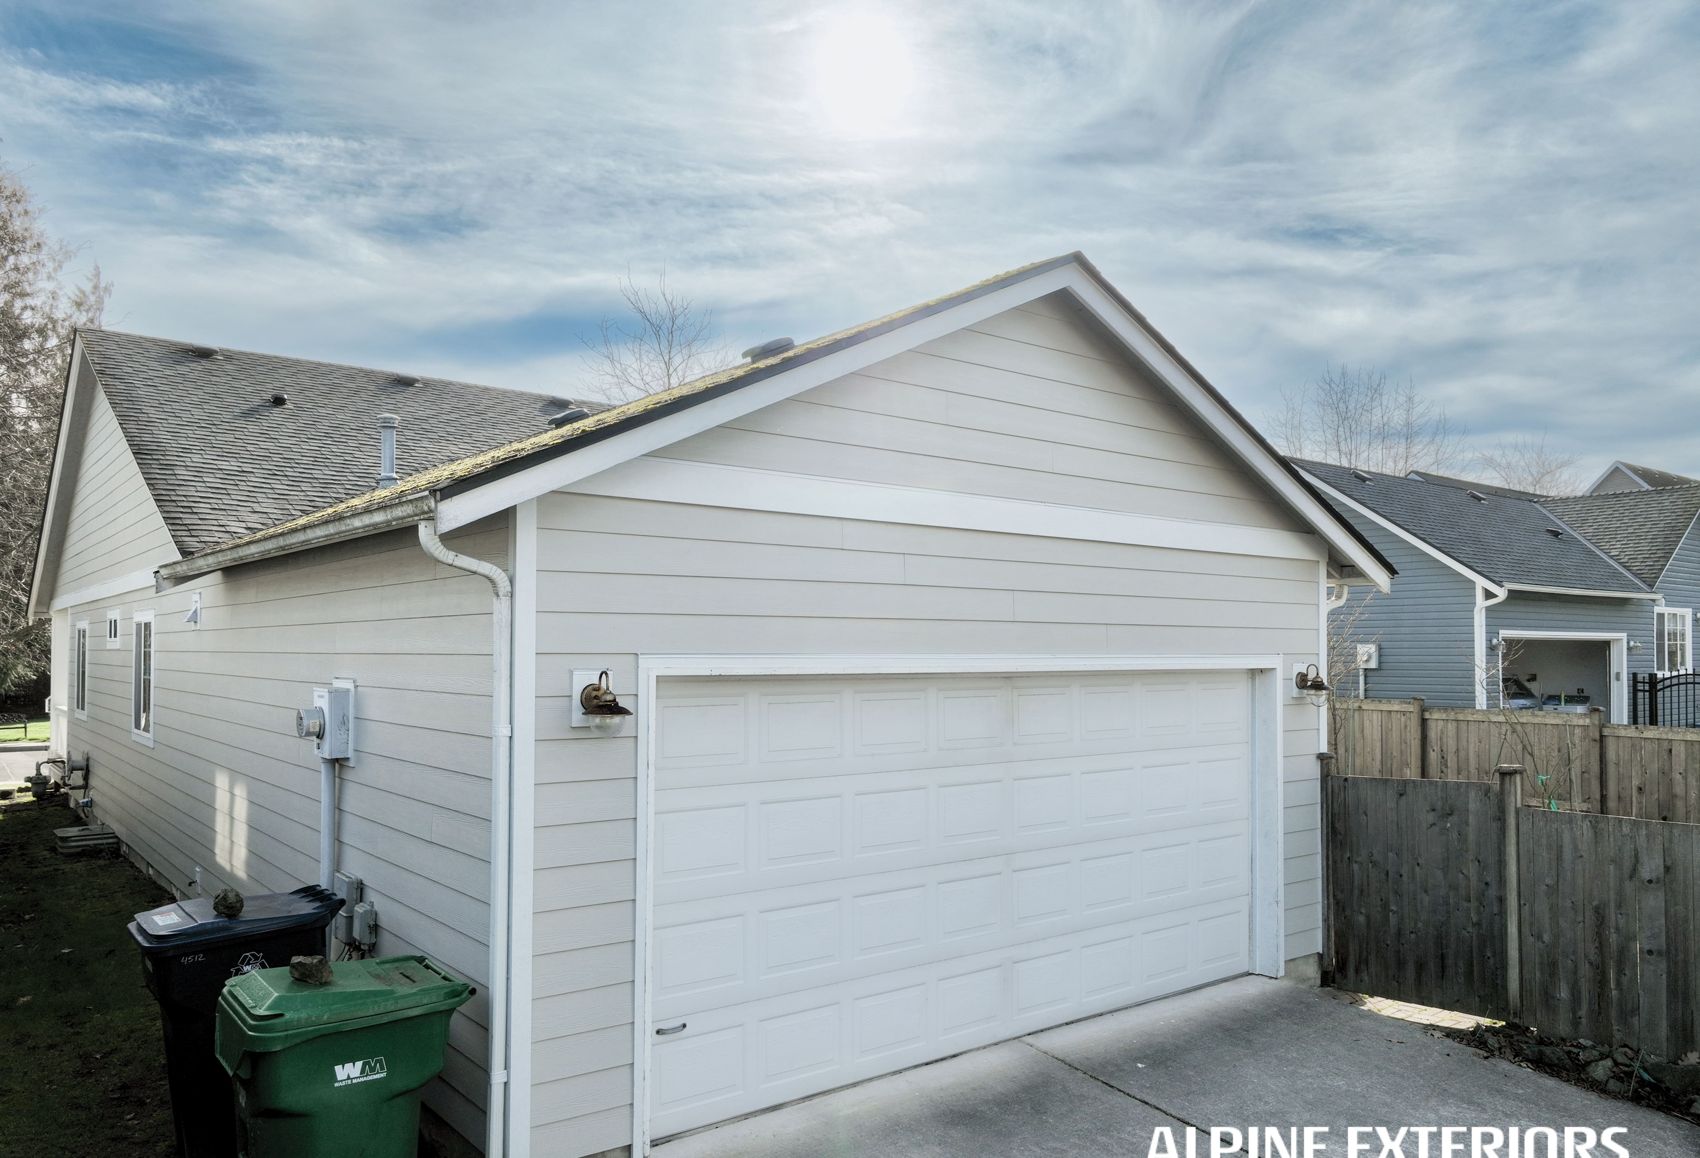
Whatcom County doesn't get the short, hard downpours some other parts of the country deal with — it gets months of low-intensity, persistent rain, and that changes what actually fails on a house. A wall doesn't need a hurricane to leak here; it just needs one bad lap detail and enough repeat cycles of wet weather to find it. Homes near Bellingham Bay, along Chuckanut, or out toward Birch Bay and Blaine also take wind-driven rain directly off the water, which pushes moisture sideways into siding laps and window trim with more force than still-air rain ever would. That's a real load on the wall assembly even without a named storm behind it.
The constant moisture also means moss and algae get a foothold on north- and shade-facing walls faster here than almost anywhere else in the state, and once organic growth is holding water against a wall long-term, any flashing shortcut underneath it gets exposed a lot sooner. Add in the wood rot risk that comes with weeks of saturated trim around Ferndale, Lynden, Sudden Valley, and the islands, and it becomes clear why the flashing sequence isn't a formality — it's the difference between window trim that lasts and window trim that has to be replaced at year eight instead of year twenty-five.
Up toward the foothills — areas that get colder overnight temperature swings than the immediate waterfront — freeze-thaw cycling adds another failure mode. Water that's trapped behind poorly lapped flashing doesn't just sit there; it expands when it freezes, which widens the gap it came in through and lets in more water the next time it rains. That's a slow, compounding problem specific to sites with real winter cold, not something a coastal wall in Blaine or Birch Bay deals with in the same way.
The Washington State Energy Code also plays into this more than most homeowners expect. Current energy code requires a continuous air barrier at the building envelope, and window rough openings are one of the main places that barrier gets interrupted and has to be re-established with flashing tape and sealant. Done correctly, the same flashing sequence that keeps bulk water out also closes the air-sealing gaps the energy code cares about. Done poorly, you end up with both a moisture problem and an energy-code compliance gap in the same spot.
If you're getting new siding installed around existing windows, or replacing windows before new siding goes on, ask the contractor directly what order they flash in and have them walk you through it before the first piece of housewrap goes up — sill, then window, then jambs, then head, then siding. A contractor who can explain that sequence without hesitation has done it correctly before; one who shrugs off the question is worth a second opinion.
It's also worth asking whether the crew plans to install a rainscreen gap behind the siding — a thin vented air space that lets any water that does get past the outer layer drain and dry out instead of sitting against the sheathing. It's not mandatory on every wall assembly, but in a climate this wet it's cheap insurance, and it pairs directly with correct window flashing rather than replacing the need for it.
On existing homes, a homeowner can usually spot early warning signs without opening up the wall: paint or caulk failing at the top corners of a window trim piece, siding that looks slightly bowed or discolored just above a window, or a musty smell in a room on a rainy week. None of those confirm a flashing problem on their own, but they're worth a closer look before new siding gets installed over the top of whatever's already going wrong underneath.
Be realistic about cost, too. Doing the flashing correctly — sill pans, back dams, proper tape laps, and a head flashing set behind the WRB — takes real labor time per opening, and a bid that skips straight from "remove old siding" to "install new siding" with no separate line item for window flashing is usually skipping the part that actually protects the house. Expect that detail work to add a modest but real amount to the per-window cost versus a bare reside; it's a fraction of what a rot repair costs a few years later.
Sometimes, but it depends on the condition of what's already there. If the existing window flashing is intact, correctly lapped, and shows no sign of water staining or soft trim, a reside can go over it. If there's any uncertainty — which is common on homes that are 15 to 20-plus years old — it's worth opening up the trim at a few windows to check before committing, because covering a bad flashing job with new siding just hides the problem for a few more years instead of fixing it.
Not every original installation included one, but adding a sill pan during a reside is a relatively small amount of extra work for a meaningful gain in protection, especially on walls that take direct wind-driven rain. On a full reside where the trim is already being removed anyway, it's usually worth doing rather than skipping.
There's no fixed number, since it depends on wall orientation, sun exposure, and how well the siding above and below the window is maintained, but correctly flashed trim on a well-drained wall routinely outlasts trim that was installed with shortcuts by a wide margin. The honest answer is that flashing quality matters more to trim lifespan here than the brand of siding installed over it.
Ask for photos of the flashing sequence at each window before the siding goes back on — sill pan, jamb tape, and head flashing — since that's the one part of the job that's completely invisible once the wall is closed up. Any contractor doing the work correctly should have no problem documenting it as they go.
Alpine Exteriors installs and repairs siding across Bellingham, Ferndale, Lynden, Blaine, Birch Bay, Sudden Valley, and the surrounding islands, and window flashing sequence is one of the details we walk homeowners through before any siding goes back on the wall. Alpine Exteriors holds Washington contractor license ALPINI751OW. If you're planning a reside, replacing windows, or you've noticed early signs of trouble around a window opening, contact Alpine Exteriors for an on-site look at what's actually happening behind the trim before deciding what needs to be redone.